After reading about actuators going “soft” as they get older I decided to borrow a boost gauge from Chris and check out how the Cappuccino’s boost level was fairing. With a reading of 0.7 bar (instead of the factory 0.9) the simple answer was “could try harder” and so I decided to purchase an MBC to get the car back to standard… and maybe take advantage of the N1 ECU’s higher boost capability too!
Decent MBCs are relatively cheap to buy and install – I paid around £30 for the controller, hose and connectors – and not too difficult to install on the Cappuccino, though there are quite a few things to remove in the process.
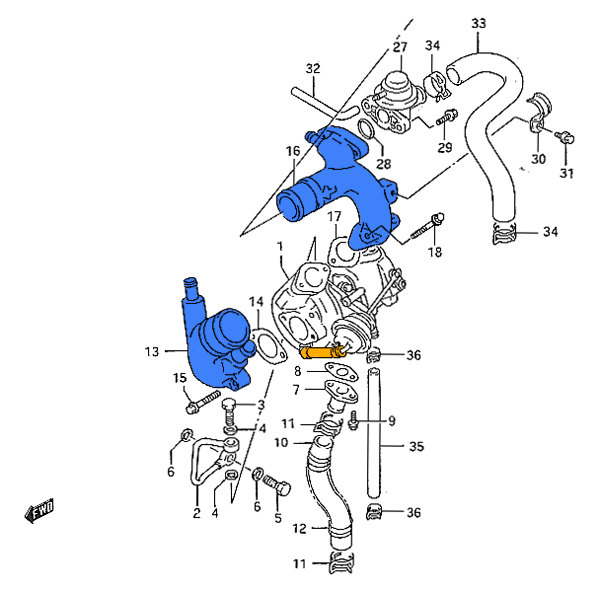
To get at the pipe running from the turbo to the actuator – where the MBC plumbs in, coloured in yellow below – it’s necessary to completely remove the airbox (including disconnecting the airbox pipe from the turbo inlet) as well as removing both the turbo inlet and outlet pipes, coloured in blue below. Both the inlet and outlet pipe faces are sealed with gaskets where they bolt to the turbo, but unless something goes terribly wrong you can reuse them as they’re only thin card ones.

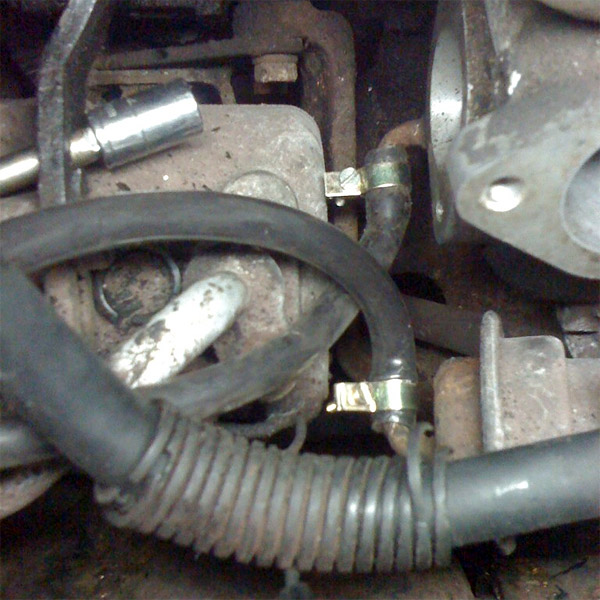
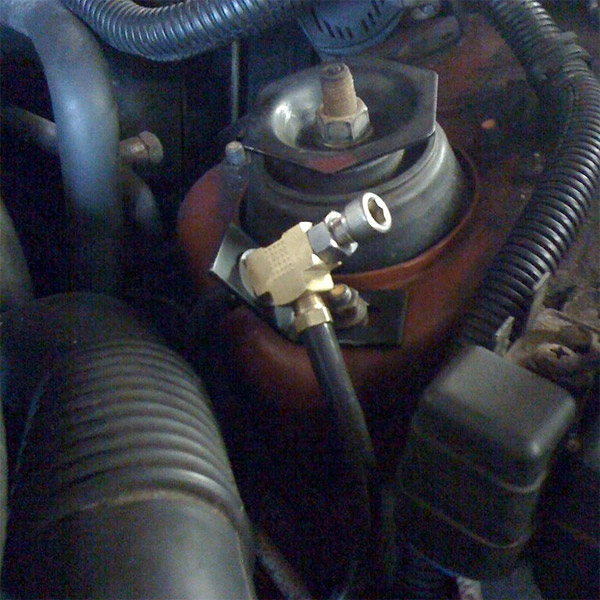
Remove the pipe completely and run hoses from each of the exposed nipples (stop sniggering) up to where the MBC will be located in the engine bay – I made up a small bracket and mounted it to the top of the passenger-side suspension turret but anywhere you can easily reach is fine.


Connect the hoses up to the MBC as per the instructions and then reassemble everything back up, trying not to swear too much when things are difficult to line up or your hands just aren’t small enough.