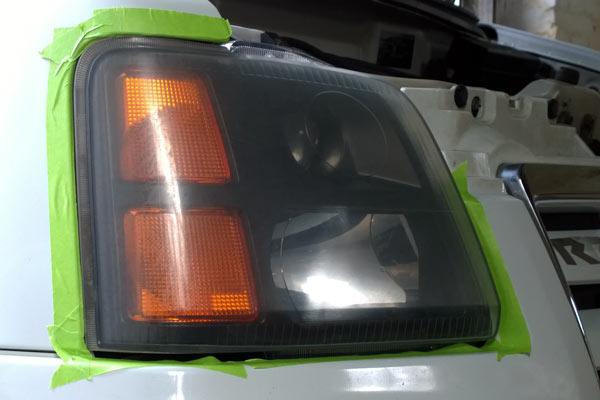
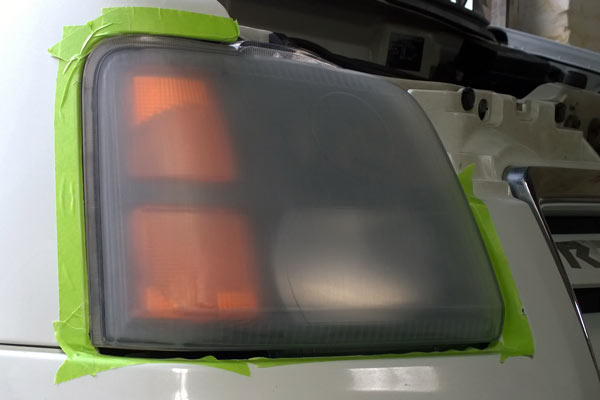
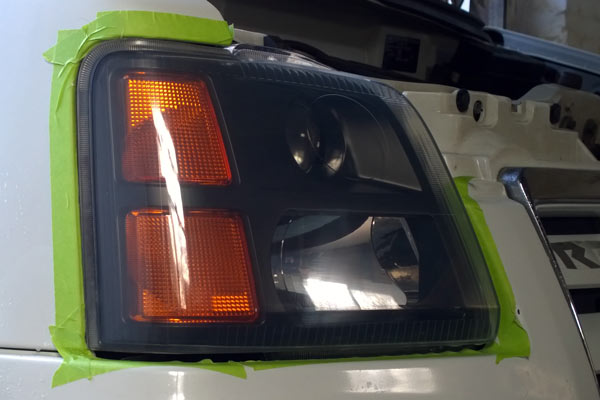
The Wagon’s HID bulbs do their very best to accentuate what would otherwise seem like a very slight cloudiness of the headlight lenses. Time to find out if a standard headlight renovation kit could make a difference…
After looking at putting together a comprehensive set of sandpapers, compounds and other bits and pieces I decided to avoid the faff – every multipack of sandpaper seemed to miss out a key grade, and when is that 90% full bottle of headlight-specific cutting compound really going to get used again? – by purchasing an off-the-shelf headlight restoration kit. The 3M Headlight Lens Restoration Kit provides all the necessary equipment to restore a set of headlights and with tiny kei-car-sized units I figured I’d probably still end up with some bits left over!

Although the 3M kit comes with a drill attachment I felt a lot more comfortable attaching the various sandpapers to the disc holder and working them by hand, following the wet-sanding instructions from this tutorial by Ammo NYC (double-checking that it didn’t massively deviate from 3M’s own instructions beforehand). For the compounding stage I let the drill do the hard work as I felt a lot less worried about burning a hole into the lenses!

One thing missing from most kits – and many online tutorials – is a method to seal the lens once the renovation is complete as the discolouration can return (sometimes more quickly than before) if an effort isn’t made to protect the new surface from UV and other nasties. Spraying the lenses with clear lacquer seems to be the ultimate solution but as I had two long-term sealants to hand – CarLack 68 Nano Systematic Care & Collinite 476S – I used those and will re-apply them every 3-6 months.

The Wagon looks tons better for a few hours of fettling and whilst on very close inspection the lenses aren’t perfectly clear I’d guess that’s more down to my fear of machine-sanding than any black mark against the kit!