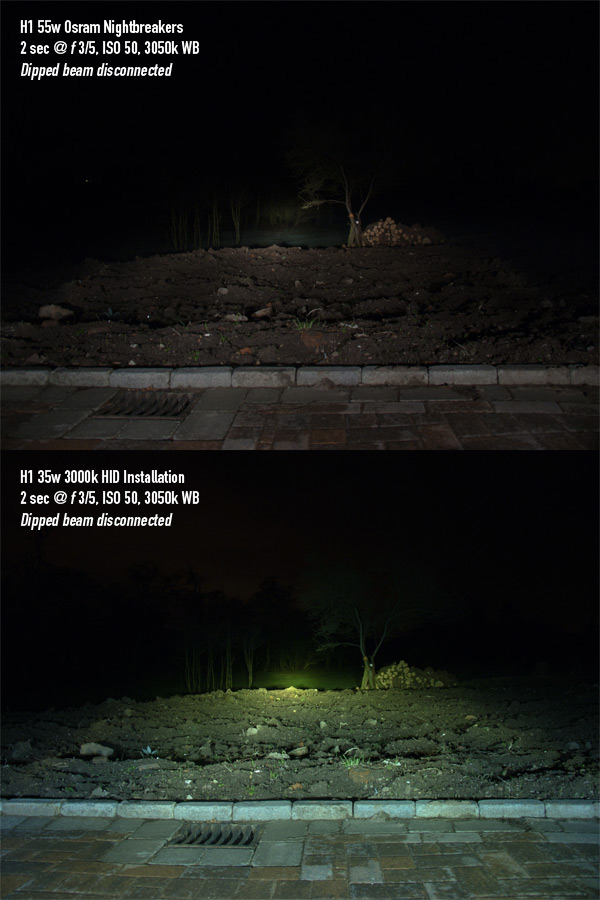
For some reason the main beams on the Cappuccino have always seemed a little feeble. The reflectors, lenses, and general condition of the lights are good but even an upgrade to a set of Osram Night Breakers (touting “Up to 90% more light than a standard bulb”) did little to help. In the end I decided that it was worth trying out a cheap Chinese HID setup for my mains only – I hate dipped beam HIDs as I think they’re far too bright for that sort of application – to see if they could make an appreciable difference instead…
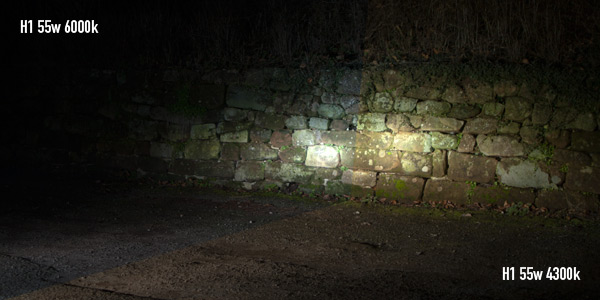
I didn’t start out with the intention to purchase all sorts of different kits and bulbs but curiosity got the better of me and I ended up testing and experimenting with both 55w and 35w ballasts, as well as 6000k, 4300k, and 3000k bulbs for each. My own broad conclusions from this bout of “fettling” were that although 55w kits provided a phenomenal amount of light the start up/warm up times were far too long for a H1 application – driving at 50mph I could turn on the 55w kit and not see a difference in light levels for the next 1/3rd of a mile! – and that although 4300k bulbs are often quoted as being the same slight-yellow colour as standard halogen bulbs I still found them too white and thus, like the pure white 6000k bulbs, not in keeping with the Cappuccino’s age. Both the 6000k & 4300k bulbs also “clashed” with the standard halogen H3 dipped beams, meaning on main beam there was a colour separation between the dipped beam and the main (which, if you’re as finicky as me, can be quite unpleasant to look at!).
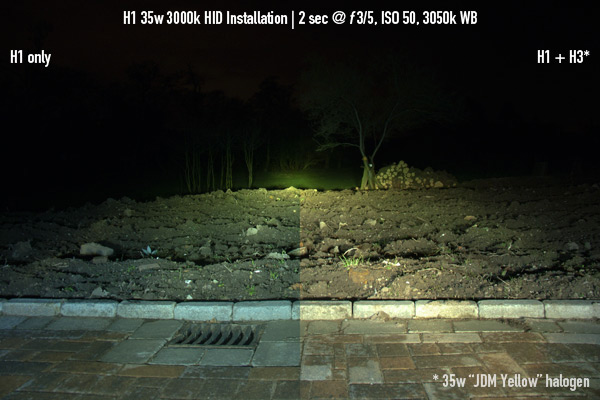
In the end I settled on a 35w HID kit with 3000k bulbs, giving me a nice “Golden Yellow” colour to the H1s that would easily match up with a pair of All-Weather H3s and yellow sidelights – see the next post, Lighting Overhaul (H3s & W5Ws) for the fitment of those!
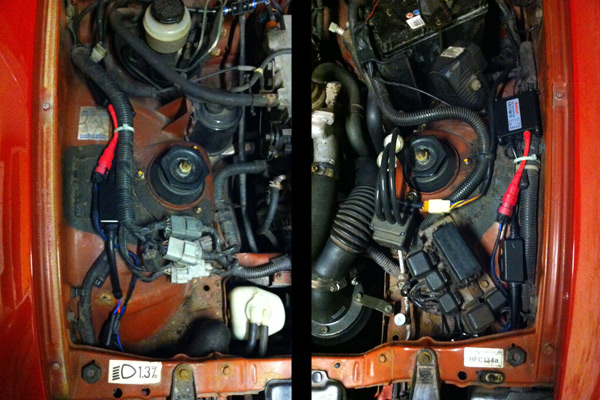
The wiring for aftermarket HID kits (or at least the H1s) is incredibly simple, with the bulbs, ballasts and wiring all clipping together with unique connectors, plus two spade connectors to push into your headlight plug – the only part you can get the wrong way round. These spade connectors are usually threaded through a circular rubber flap (along with the headlight wires) but I pulled these two out – if not you end up threading the wiring into the headlight housing only to have to feed them out to connect up to the plug.
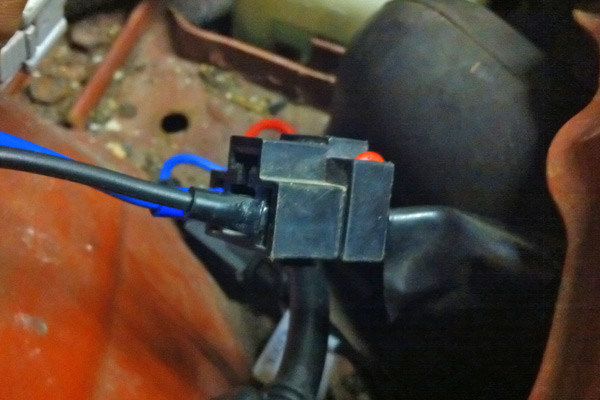
Around the headlight it gets a fiddly – especially if you leave the lights in place – but with a bit of persuasion you can remove the solid plastic bridging connector that sits in the middle of the protective rubber cup and thread everything through this new hole (including the rubber flaps on the headlight wiring). Seat the bulbs, reattach the rubber cup, pull the rubber flap back to seal the hole up and give the new kit a try. If everything works you can begin to tidy the ballasts & wiring up with a few cable ties, and if not… well, you can prepare your knuckles for yet another problem-solving onslaught!
Was it a worthwhile job? Absolutely! The images below were photographed & processed in an identical manner and thus give a pretty accurate representation of the difference in light levels between the Osram Nightbreakers I’d originally installed compared to the subsequent HID installation. There’s also a photograph of the H1s installed alongside the All-Weather H3s for those who want to see how well the headlight colours blend. Just me then…
